How to get glass skin naturally at home? – Back in 2018, I bought my first LED light for my face—not because it was trendy, but because I was curious. LED light wasn’t as popular as it is today at all. The device wasn’t glamorous (and compared to the newer ones, it looked a little clunky). A few weeks into consistent use with home skincare products, someone looked at me and said, “Your skin looks like glass!” I didn’t realize it then, but I had unknowingly taken my first step toward achieving the now-famous glass skin look.
Glass skin isn’t about perfection. It’s about creating skin that’s clear, dewy, luminous, and healthy—so radiant that it almost looks reflective. You can absolutely achieve it naturally at home with the right tools, consistency, and a touch of patience.
If you’re wondering how to get glass skin, let’s explore a fun glass skin routine using effective glass skin products (including my trusty LED light) and share tips for building a glow from the inside out.
This post contains affiliate links. If you purchase through them, I may earn a small commission at no extra cost to you. Your support helps me continue creating content and is greatly appreciated.
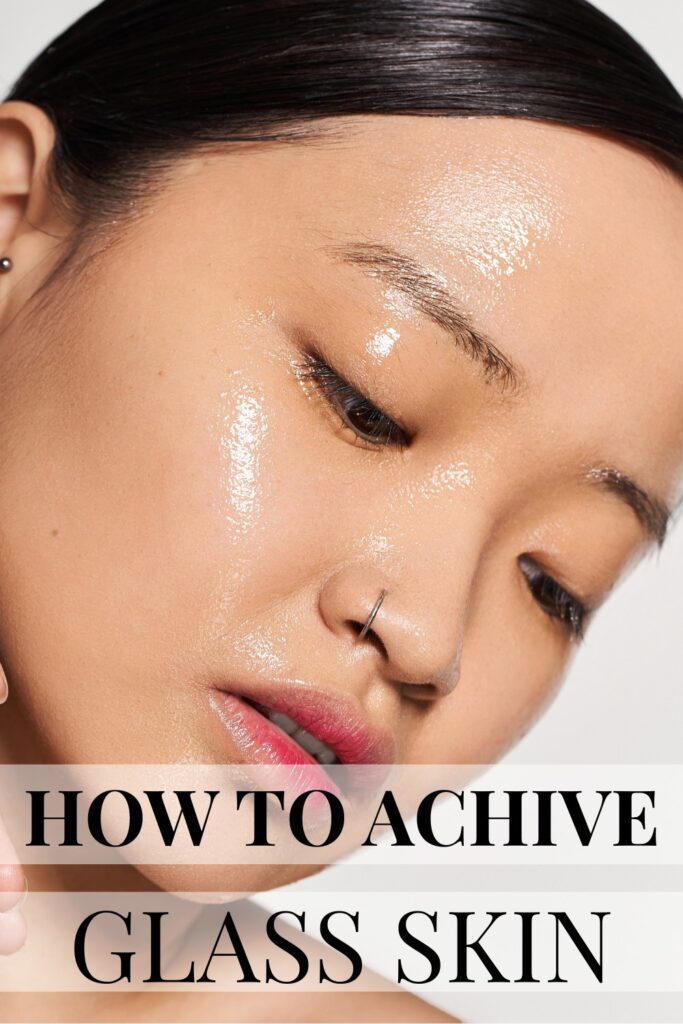
This post is all about Glass Skin and how to achieve it.
What Is Glass Skin?
Let’s clear this up before we get started. Glass skin is a term that originated in Korean beauty and refers to skin that’s so smooth, even-toned, and hydrated, it looks like glass. It’s not oily or greasy; it’s just extremely well cared for, with a natural, healthy radiance.
Achieving it isn’t about slathering on highlighter or using a single miracle product. It’s about layering hydration, supporting skin health, and sticking to a consistent skincare routine.
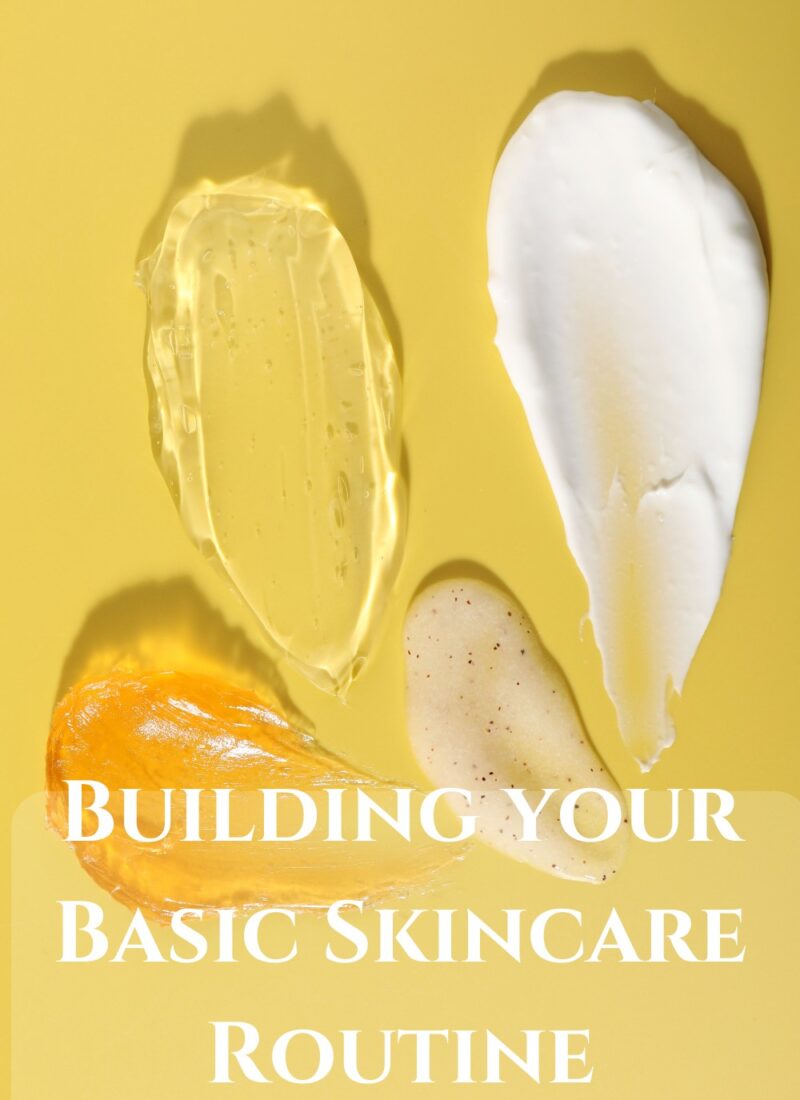
How to Get Glass Skin Naturally at Home: Step-by-Step Routine
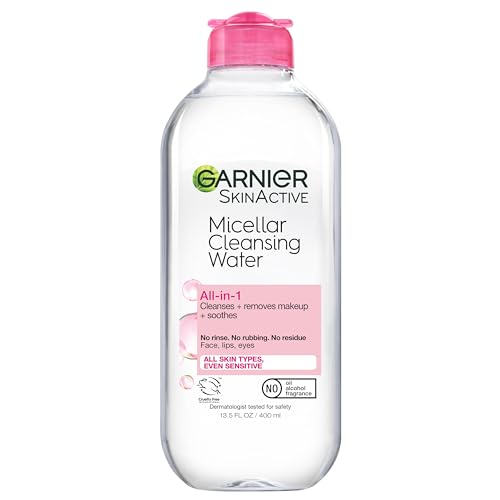
Step 1: Micellar water (PM)
Micellar water gently cleanses the skin by attracting and lifting away dirt, oil, and makeup using tiny cleansing molecules called micelles. Use one that has a hydrating effect.
|
Sensitive Skin Friendly

|
Affordable Favorite
|
Worth the Splurge

|
Biodegradable
![Clean Skin Club Clean² Pads 2.0 [NEW & IMPROVED EDGES]](https://m.media-amazon.com/images/I/31EUESRqVNL._SL500_.jpg)
|
|
$19.99
|
$8.82
|
$30.00
|
$7.95
|
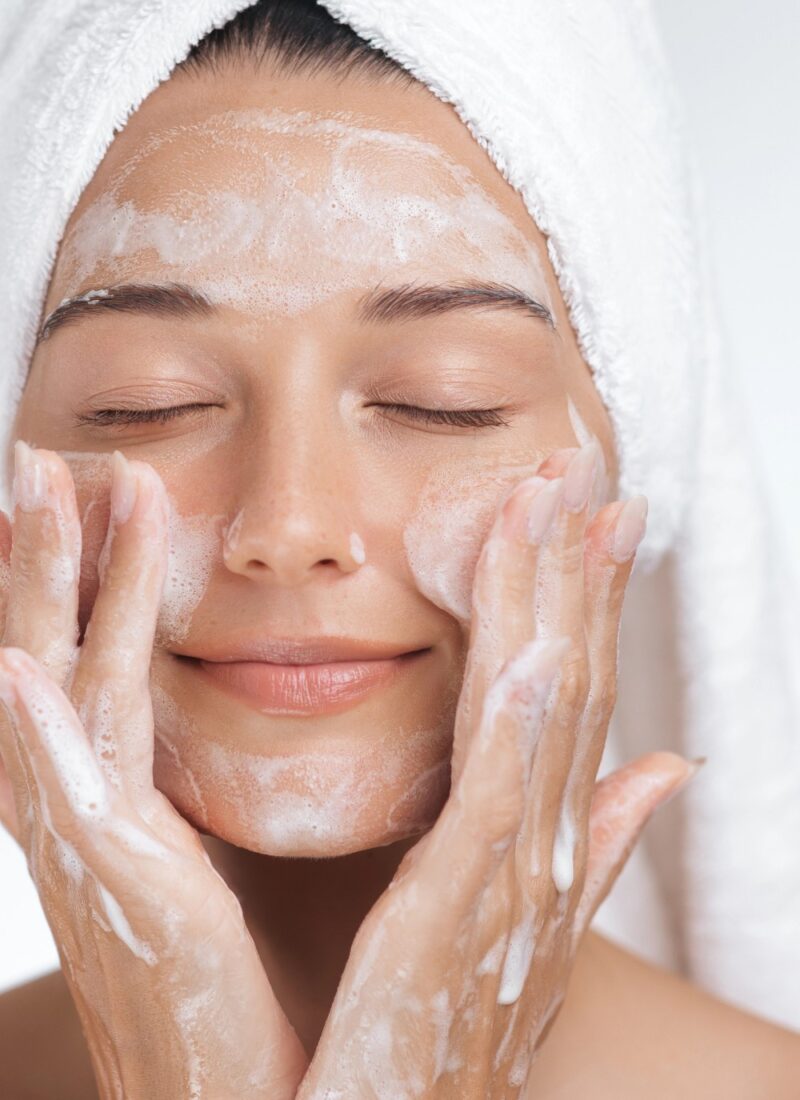
Step 2: Cleansing
The crucial step in a good glass skin routine is a thorough cleanse. Use a gentle cleanser to remove residue without stripping your skin.
|
Save & Glow

|
Gentle Gel Cleanser

|
Sensitive Skin

|
|
$14.00
|
$39.00
|
$31.95
|
Step 3: Gentle Exfoliation (2–3 Times a Week)
To get that smooth, glassy finish, you need to exfoliate away dead skin cells. Don’t overdo it—gentle and consistent is the name of the game.
- Chemical exfoliants like AHAs (glycolic or lactic acid) help brighten and smooth.
- Avoid harsh scrubs that can irritate and inflame the skin.
|
Affordable Favorite

|
K-Beauty Must-Have

|
All skin type include Sensitive

|
Acne-prone skin

|
|
$9.00
|
$18.90
|
$37.00
|
$49.00
|
Step 4: Hydrating Toner or Essence (Optional)
Now that your skin is clean and prepped, time to layer hydration. Glass skin is all about water content in the skin, not oil.
- A toner or essence helps balance the skin and delivers a quick hit of hydration.
|
Sensitive Skin Friendly

|
Affordable Favorite

|
High End Favorite

|
|
$14.99
|
$20.90
|
$40.00
|
Step 5: Serums for Targeted Results
Serums are where you can customize your routine. For glass skin, look for serums that hydrate, brighten, and plump.
- Hyaluronic acid draws moisture into the skin.
- Niacinamide helps brighten and refine pores.
- Vitamin C boosts radiance and evens skin tone.
|
K-Beauty Must-Have

|
Save & Glow

|
Hydration Booster

|
Glass skin secret

|
Anti-Aging Hero

|
|
$21.59
|
$24.37
|
$38.00
|
$38.89
|
$165.00
|
Step 6: Moisturizer
Seal in all that goodness with a moisturizer that hydrates without clogging pores.
- For oily skin, go for a gel cream. For dry skin, a richer cream works better.
|
Affordable Favorite

|
Amazing Ingredient

|
Lux Splurge Option

|
|
$30.00
|
$54.00
|
$180.00
|
Step 7: Sun Protection (Every. Single. Day.)
Nothing undoes your hard work faster than UV damage. SPF is non-negotiable in any glass skin routine.
- Look for a lightweight, broad-spectrum SPF 30 or higher.
Below are all the broad-spectrum sunscreens (protect against both UVA and UVB)
|
Affordable Favorite

|
All Time Favorite

|
K-Beauty Must-Have

|
Lovely Glow

|
|
$18.00
|
$23.50
|
$38.00
|
$32.98
|
Step 8: Red Near Infrared LED Light Therapy
Remember that clunky LED light I bought in 2018? I still use it over my newer, fancier ones. Why? Because it works.
Red LED light therapy stimulates collagen production, calms inflammation, and helps reduce fine lines and pigmentation—all things that contribute to a glassy complexion.
- Use 3–5 times a week for 10–20 minutes.
- Use it on clean skin before serum and moisturizer.

Related post: LED light therapy for skin benefits, 9 reasons why LED light therapy is your skin’s BFF
Optional
For those pursuing the ultra-smooth glass skin aesthetic, facial hair (peach fuzz) removal is an optional step some incorporate, though this is entirely personal preference. Beauty standards vary widely, and natural facial hair is completely normal. But in case you need it, there is a tool for it.

Glass Skin from the Inside Out
Skincare products are only half the story. To truly glow, you need to care for your skin from within.
- Hydrate. Drink water throughout the day. Your skin reflects your hydration levels.
- Eat antioxidant-rich foods. Think berries, leafy greens, and omega-3-rich foods.
- Sleep and stress management. Your skin regenerates while you sleep—don’t skip it!
- Exercise. Increases circulation and gives your skin a natural glow.
Final Thoughts
These 8 steps might seem like a lot at first, but don’t worry—start with what feels manageable. Add one new step at a time, and build from there. The key is consistency. Give yourself at least three months of steady care to see how much difference it can make, and you’ll be amazed at the transformation.
Achieving glass skin isn’t about perfection—it’s about smart choices, patience, and self-love. Whether you’re just getting into skincare or you’ve been at it for years, you can begin your glass skin journey right at home.
Keep it simple. Don’t stress. And if that LED light has been sitting in your cart for a while, go ahead and give it a try—it might just become your new favorite skincare ritual.
This post is all about Glass Skin and how to achieve it with a home skincare routine.
While I personally test many of the products featured on this blog, I haven’t tried every single item recommended. My selections are based on careful ingredient analysis and thorough research into formulations, effectiveness. Always check for potential allergens if you have sensitive skin or known allergies.
Disclaimer: This blog provides general skincare advice and product recommendations. Always consult with a dermatologist or healthcare professional.


Leave a Reply